
Building a home outdoor pavilion is an excellent way to enhance your yard’s appeal and create a comfortable space for relaxation or entertainment. The process might seem daunting, but with careful planning and execution, it can be a rewarding DIY project. Here are some steps to guide you through the process of building your own home outdoor pavilion.
Firstly, decide on the size and location of your pavilion. This will largely depend on the available space in your yard. Ensure that the chosen area is flat and free from any obstructions like trees or rocks. It’s also important to consider how much sunlight the location gets during different times of day as this could affect its usability.
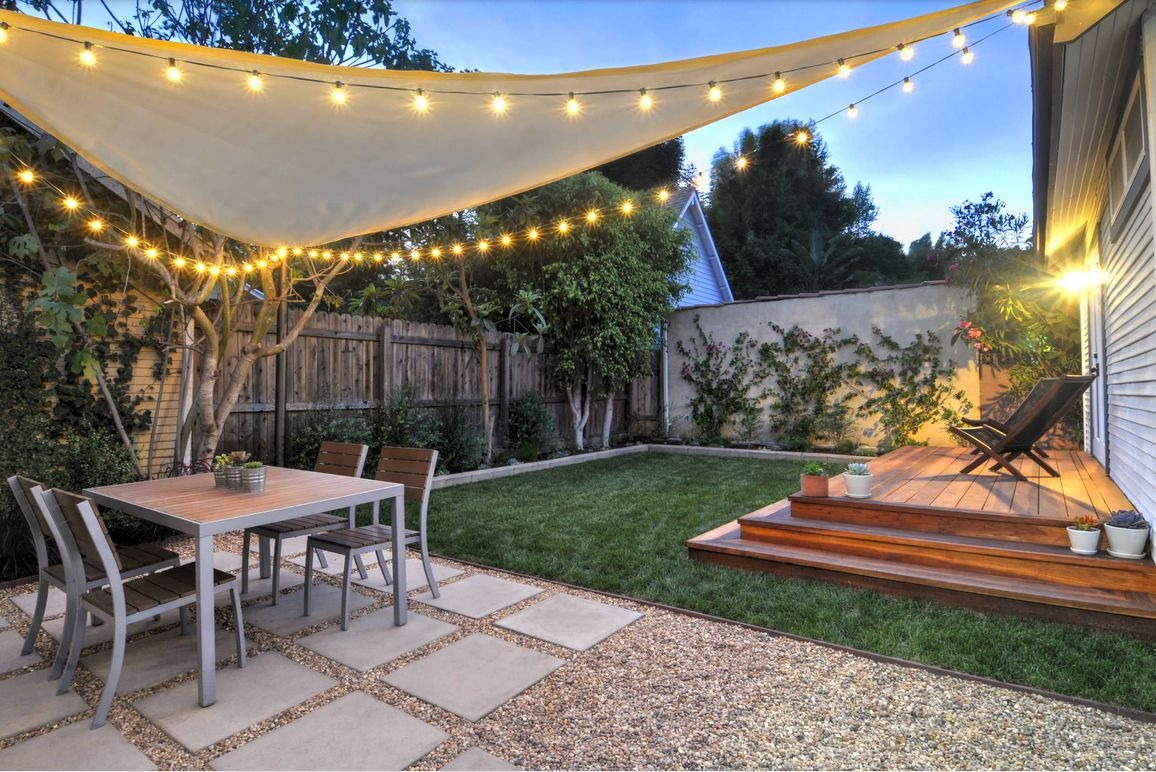
Next, sketch out a design plan for your pavilion based on its intended use. If it’s meant for hosting parties or gatherings, you may want to incorporate features like an open fireplace or built-in seating arrangements into your design plan. Alternatively, if it’s primarily for personal relaxation, you may opt for a simpler design with ample shade.
Once you have finalized your design plan, start gathering materials needed for construction which typically include wooden beams or metal poles for support structures; plywood or another type of roofing material; concrete mixtures for setting posts into ground; screws and nails; as well as paint or varnish to finish off surfaces.
The next step involves laying out foundations by marking exact locations where post holes should be dug using stakes and strings ensuring their alignment is straight before digging them up using either manual tools like shovels or power augers depending upon size of hole required.
After digging holes at marked spots deep enough so they can securely hold posts upright without any wobbling around (usually about 2-3 feet), pour concrete mixture into these holes then insert posts making sure they’re perfectly vertical using levels before leaving concrete to dry properly which usually takes about 24 hours.
Once foundations are set firmly in place after drying completely overnight (or longer if necessary), begin constructing roof structure by attaching horizontal beams onto top parts of posts using screws or nails, then lay down roofing material on top of these beams securing it with more screws or nails.
After completing the roof, you can now focus on adding finishing touches to your pavilion. This could involve painting or varnishing wooden surfaces for a neat and polished look; installing light fixtures for evening use; putting up curtains or blinds for added privacy; arranging furniture inside like tables and chairs for comfort; as well as planting flowers or shrubs around pavilion to enhance its aesthetic appeal.
Building a home outdoor pavilion is certainly no easy task but with careful planning, patience, and hard work, it’s definitely achievable. The end result will not only add value to your property but also provide a wonderful space where you can relax, entertain guests, or simply enjoy nature’s beauty right in the comfort of your own backyard.